Tracking, tagging, conversions, transactions, button clicks, remarketing, what about being able to handle all these features with one single tool? That is what Google Tag Manager (GTM) offers.
GTM is simply the tool that helps you bridge the gap between web marketing and Web Analytics. As Digital Marketing Manager, you want to track every Digital campaign easily, using the same methodology and collecting the same array of data in order to have a coherent and single measure.
GTM is a free tag management system. By placing a unique container tag on your site, you are able to manage all your tags through a single interface. This includes Advertising tags and web analytics tags. Of course, special integration makes the implementation of Google tags a breeze but you can incorporate any type of tag. For example, you can easily integrate Facebook conversion tag. You just need to place one single line of JavaScript code on your website (i.e.: the container) to manage all your other tags and to make them work.
GTM is a great tool for marketers because it can really speed up launch time by testing and launching new tags when ready without involving the IT department.
On the other side, the IT will love some of the features available in GTM and the incredible customization it offers.
Indeed, not only your tags are easy to deploy but you can basically track any type of website interaction with GTM.
How to start with Google Tag Manager?
Creating your Account
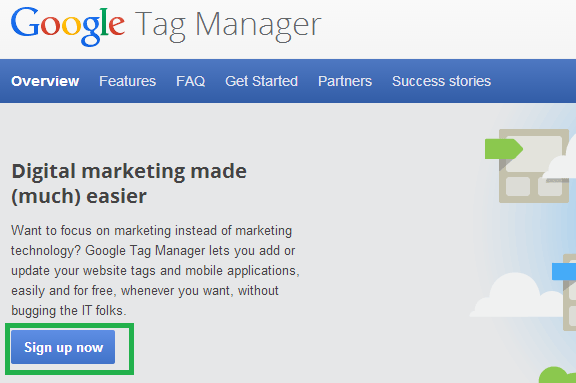
To start using Google Tag Manager, go on Google Tag Manager website: http://www.google.com/tagmanager/ and start creating your account.

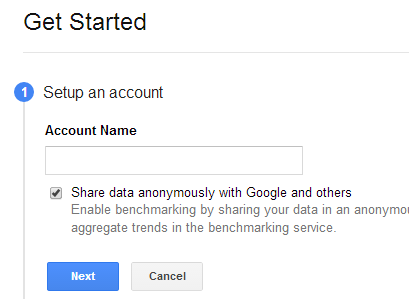
You set up your account. Choose a name that is generic enough to contain all your web properties.

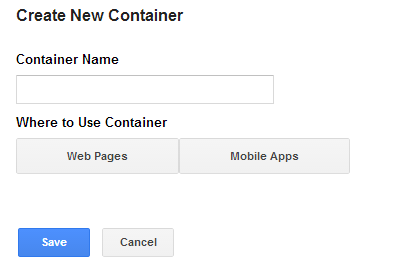
You then create your container. Select webpages for a website and mobile apps if you want to track your app. Do not forget to select the appropriate timezone.


Once this is done, the system will generate your container to be added to your site. This container tag needs to be placed in the <body> section of each page.
Start Deploying your tags
After having implemented the container, you can start using the interface and deploy your tags.
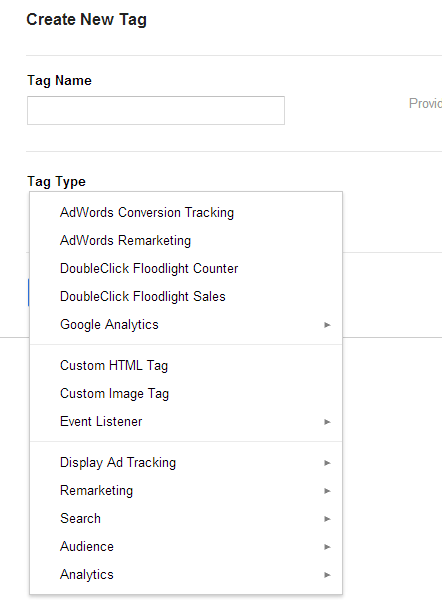
As you can see below, the GTM interface has some preconfigured templates (Adroll Smart Pixel, Doubleclick Floodlight Counter) but you can also configure custom tags (Custom HTML).
Basically, GTM function with 3 core elements: Tags, Rules and Macros.
A rule will help you to specify when a tag should be fired. Rules are stored in the container and can be re-used from one tag to another. Typically, the rule for your Facebook remarketing tag will be “all pages” whereas Facebook conversion tag will only be fired on your “thankyou” page. You can also use blocking rules to prevent your tags from firing on specific pages.
The macros are components that store data/information. This stored information can then be used to create a rule. In short if you want to pull out some information from your page and use it In GTM, you will need to use macros. Macros are a way to tell GTM where to find the information.
Even if adding some tags is very easy (a few clicks away), more advanced tags like e-commerce will require the implementation of more advanced features, like the dataLayer. This is where GTM can become more complicated and where you might need help from Business Intelligence specialists.
For more advanced implementations, I advise you to read the article written by my colleague David over the dataLayer use and technique.
![]() written by Stéphane Juricic
written by Stéphane Juricic


